TL;DR
You do not need a single full-outfit photo to generate a styled lookbook.
Upload each clothing item separately — top, bottom, shoes, even a hat —
and the AI combines them into one cohesive look.
You Do Not Need a Complete Outfit Photo
Most people assume you need to photograph an entire outfit at once.
You do not. LaonGEN lets you upload individual garment photos and
the AI assembles them into a single styled scene.
This works for up to three separate items at a time: tops, bottoms,
shoes, outerwear, and accessories like hats or bags. The sections
below show three ways to use this — from the simplest to the
most controlled.
Method 1: Single Item Input
The simplest approach. Upload one garment, and the AI auto-selects
matching bottoms, shoes, and a background scene.
This is useful when you want quick results without overthinking
the coordination. The AI makes reasonable styling choices
based on the garment’s color, silhouette, and category.
Input
Results
The four scenes — outdoor field, studio window, pampas grass,
and a second studio window — were all generated from
the same single jacket photo. The AI matched it with
neutral bottoms and varied the background and lighting.
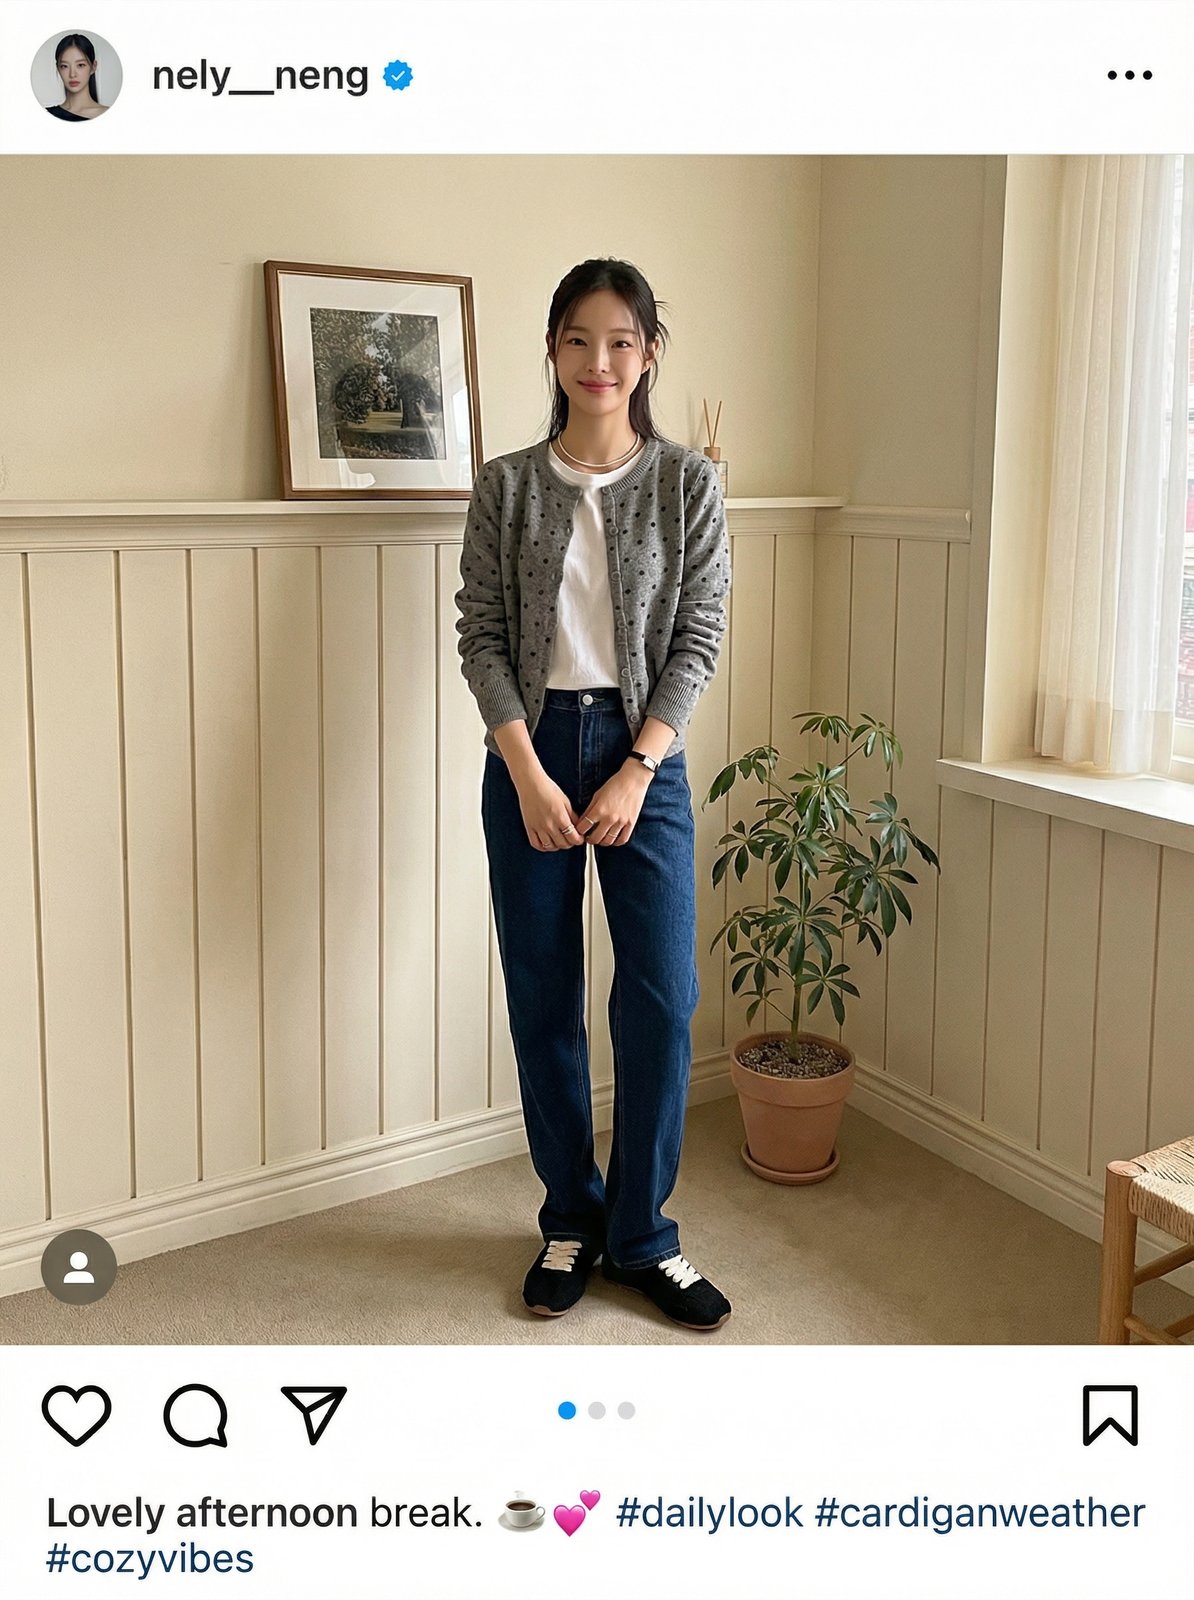
Method 2: Top + Bottom + Shoes
If you want to control the exact coordination, upload all three
items separately. The AI uses your specific choices rather than
guessing.
This approach works well for brands with a defined color palette
or when you want to show a curated set on the product page.
Input
The cardigan was uploaded with both a flat-lay and a wearing
reference. The skirt and shoes were uploaded as separate items.
Results
The cafe settings and the studio full-body shot each read
differently in tone. The floral cardigan + midi skirt + mary jane
combination stayed consistent across all four scenes.
Method 3: Outerwear + Bottom + Accessory (Hat)
Accessories are recognized too. In this example, a beret
was uploaded alongside an ivory duffle coat and a lace midi skirt.
The hat appears in the output.
Input
Three reference images side by side: the coat on a model,
the skirt on a model outdoors, and the beret from multiple angles.
Results
The snow field backdrop matched the winter coat and beret well.
The AI placed the hat consistently across all four poses.
Note that a bag appeared in the fourth result — the AI
occasionally adds small props depending on the scene context.
Comparison: Three Input Methods
| Method 1: Single Item | Method 2: Top + Bottom + Shoes | Method 3: + Accessory | |
|---|---|---|---|
| Items uploaded | 1 | 3 | 3 (incl. hat) |
| AI controls | Bottom, shoes, scene | Scene only | Scene only |
| You control | Garment only | Full coordination | Full coordination + accessory |
| Best for | Quick generation, hero shots | Set coordination, product pages | Full look with headwear |
| Effort | Low | Medium | Medium |
When to Use Which
Use Method 1 when you are generating volume quickly
or testing how a single piece photographs across different scenes.
Good for hero images of outerwear or statement tops.
Use Method 2 when you are selling a coordinated set
or want the exact color and silhouette combination shown together.
Useful for curated bundles, lookbooks, and social content.
Use Method 3 when your product includes an accessory
— hats, berets, or similar items — and you want it reflected
in the final image. Upload the accessory separately with
clear reference photos from multiple angles.
One Last Thing
The quality of the input photo affects the output.
Clear, well-lit reference images — especially for accessories —
give the AI more to work with. If a hat or shoe is not
appearing as expected, try uploading a second reference angle.